
Replacing USB Charging Outlets: How to Organize Neatly Without Adapters
By replacing standard outlets with integrated USB A and C type outlets, users can charge devices using only cables…
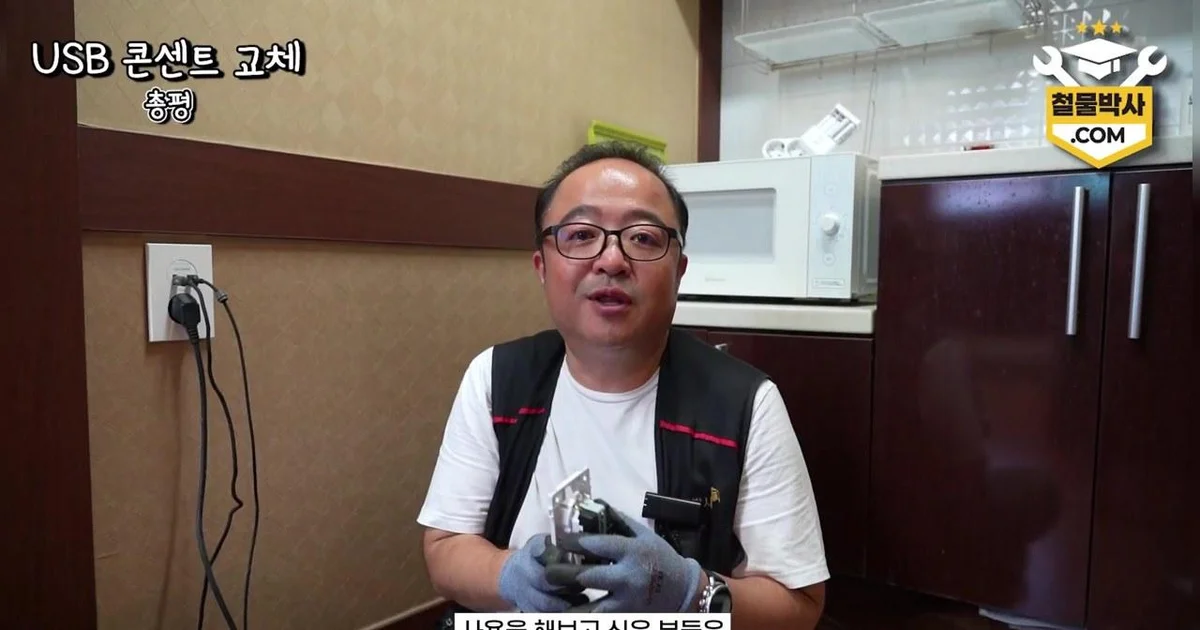
As the use of small appliances with USB charging methods increases recently, many people experience the inconvenience of the area around outlets becoming messy due to having to plug in multiple separate charging adapters. According to a video from 'Cheolmulbaksa TV', if you replace an existing standard outlet with a product that has built-in USB ports, you can charge conveniently with just cables without adapters, allowing you to keep the space neat.
Features and Supplies for Integrated USB A·C Type Outlets
Outlets that include USB charging functions often consist of USB Type A and Type C ports together at the top, in addition to the standard 2-socket outlet at the bottom. The presenter in the video explains that since Type C is mainly used in recent smartphones or small devices, choosing a model that includes both Type A and Type C has high utility. Product prices vary depending on the configuration; a model with only two Type A ports can be found around the 20,000 won range, but models including Type C can rise to the 30,000 won to 40,000 won range.
The only supplies needed for the replacement work are simple tools such as a screwdriver or a charging drill. The work method itself is identical to the process of replacing a general outlet, so even beginners can attempt it relatively easily.
Safe Outlet Replacement Steps and Precautions
Since it is electrical work, the most important precaution is to ensure safety by definitely (definitely) turning off the circuit breaker before starting the work. The replacement order is as follows.
First, remove all plugs inserted into the outlet. Next, insert a flat-head screwdriver into the groove at the bottom of the outlet and twist it slightly upward to separate the outer case. Once the case is removed, you will see the screws fixed at the top and bottom inside, so loosen these screws to detach the existing outlet from the wall.
Simply connect the wires of the newly prepared USB outlet to the existing positions. At this time, the light green wire commonly seen in general residential environments such as apartments is the 'ground wire', and you only need to insert one into either of the terminals on both sides of the product. Once the wire connection is finished, push the outlet into the wall, tighten the screws again to fix it, and finish by putting on the cover. After installation, check whether the USB port properly supports fast charging to confirm that the work is complete.

Comments 0